The first-clear loop
- Keep the central pillar in reach. Notice the tall, blocky structure with green seams before you commit to aiming.
- Counter one close swing. Watch the attacking arm. Take the follow-up shots when the enemy buckles and the lamps drop behind it.
- Break off for the room attack. The wide lamp flare is your cue to move. Keep solid pillar geometry between you and the incoming light.
- Deal with the red cubes. Switch to your fast-firing gun when you have room, shoot the approaching shapes, then reset for the next melee window.
The safest default for a first clear is a short burst of damage followed by a reset. Do not stay in an aiming stance through a new attack just to empty a magazine.
Counter the swing, then shoot the rear lamps
At close range, watch the long arm as it draws into a swing. Use your mapped parry/counter action as the attack is about to connect. The successful sequence shown below has a bright violet deflection effect, followed by the boss bending forward.
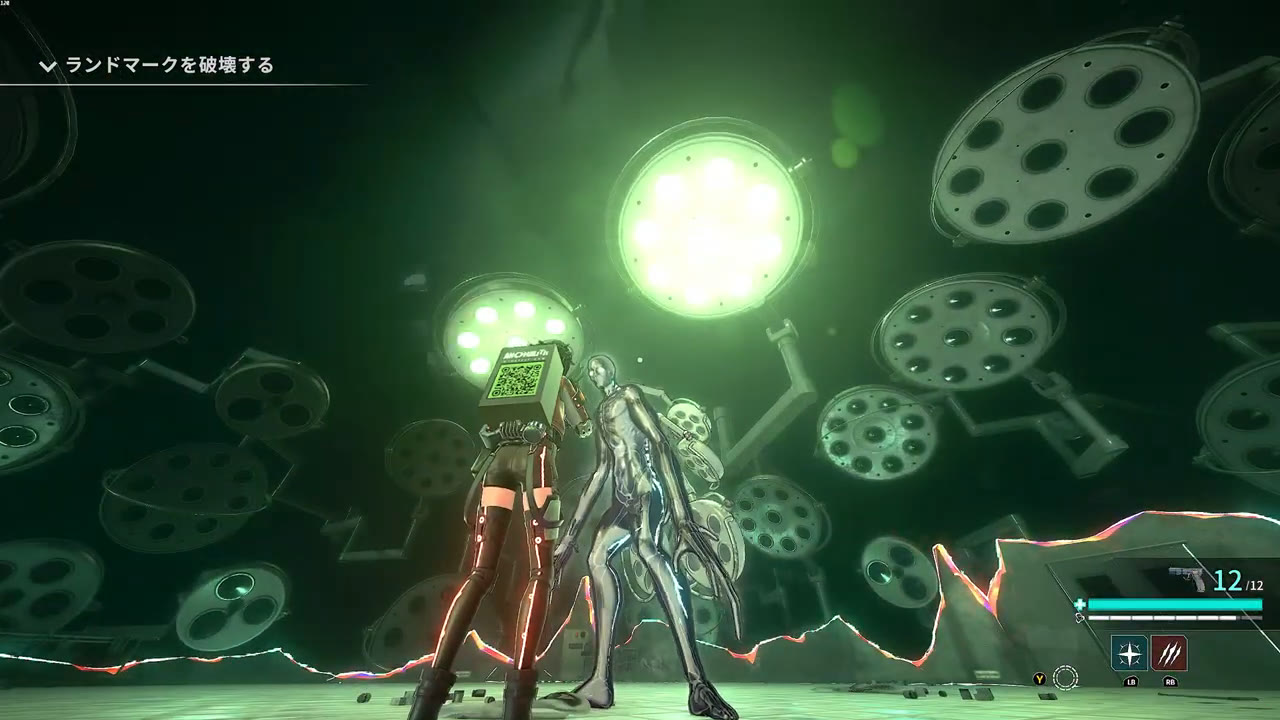
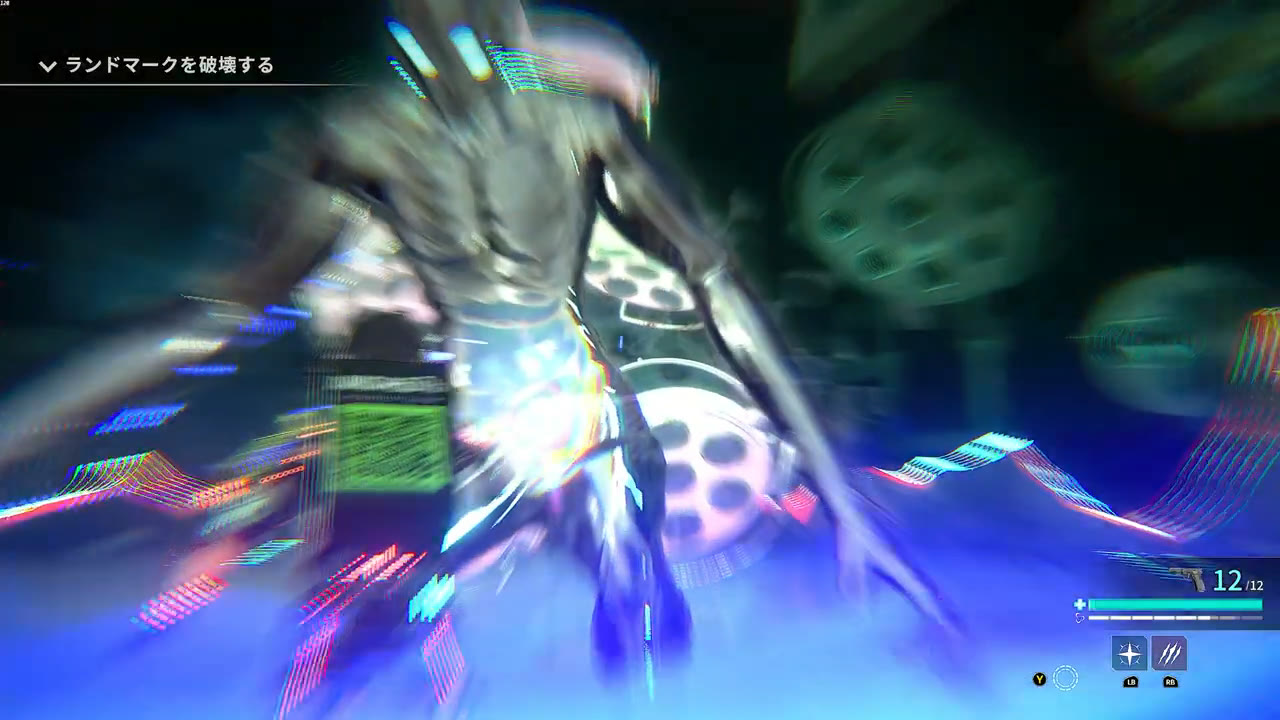
Use that recovery to aim at the circular lamps behind the upper body. In the recorded loop, the assembly lowers as the boss folds over. A shotgun is a practical close-range option; a handgun can also take the opening. You do not need to chase a universal “best DPS” build to use the weak point.
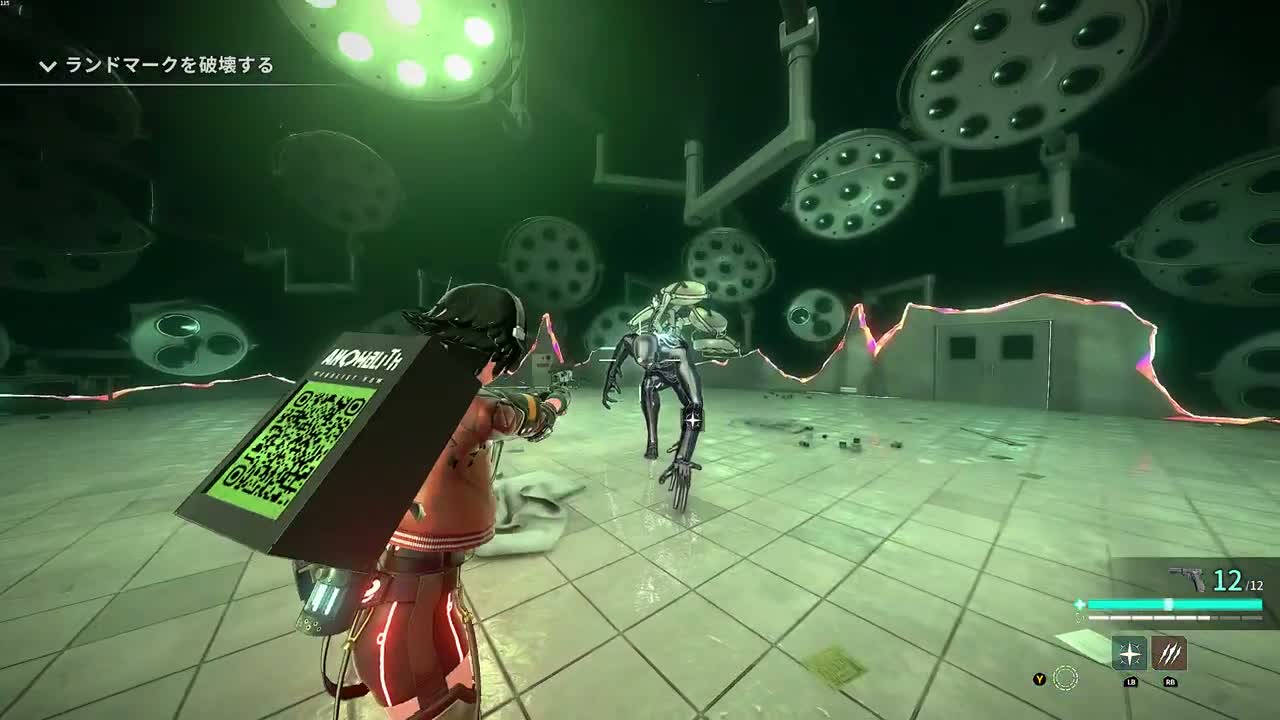
If the counter misses, break away and recover before trying again. Repeatedly pressing the counter input while standing beside the boss is not a substitute for reading the next swing. This guide does not assign a frame window or claim that every attack can be countered.
When the lamps flare, move behind the central pillar
The boss can light up its whole lamp array and release a much broader light attack. Stop aiming as the array brightens and move to the solid far side of the central pillar. The pillar is the tall angular structure with green seams, not one of the flat lamps around the room.
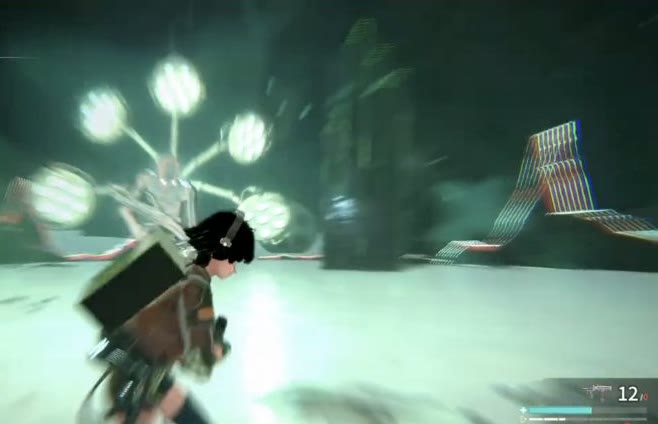
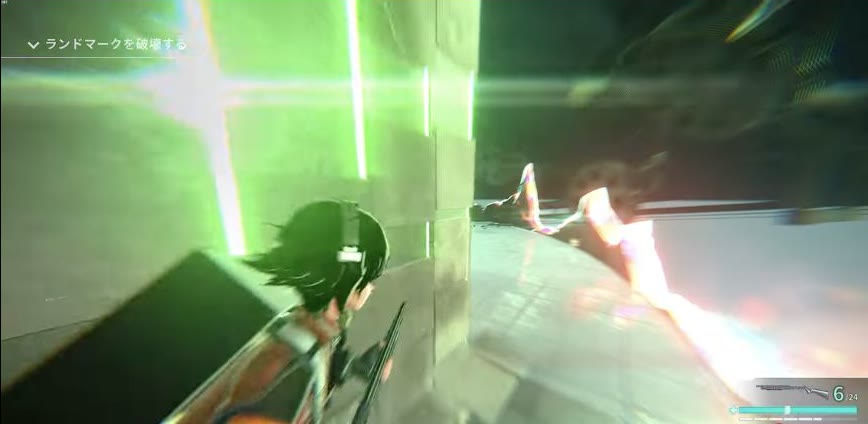
Commit to the far side rather than stopping on the exposed edge. Wait until the bright sweep passes, then leave cover and check for the red cubes. The successful pillar sequence returns to the arena without a visible health loss; running in the open during the flare is also shown causing a knockdown.
Use the visible light and cover relationship. There is no fixed safe distance, cone angle or countdown to memorize here.
Shoot the floating red cubes
The glowing red clusters are separate threats. You can shoot them. Turn your aim onto a cube that is closing in, clear the immediate threat, and then return to the boss. Do not continue aiming at the boss while the shapes surround you.
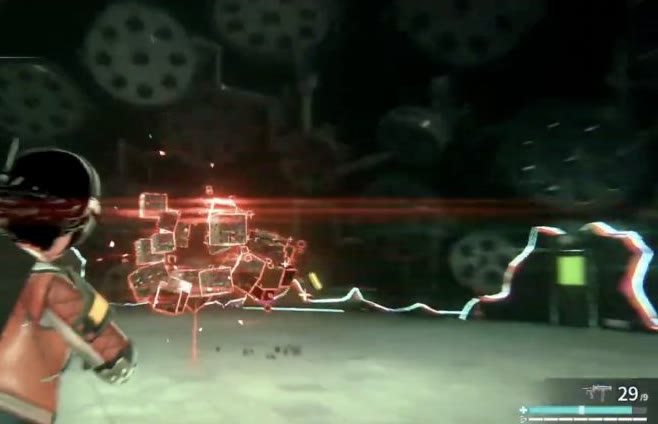
A submachine gun is a useful default for this job if you have ammunition. Handgun shots are also demonstrated. Switch before the shapes crowd you: the weapon wheel occupies the middle of the screen, so cover or a clear gap is a better moment to open it.
Prepare for a clean attempt
- Bring a lamp-window weapon. Use a shotgun for close recovery windows, or keep a loaded handgun ready if that is what your ammunition supports.
- Keep a fast-firing option ready for cubes. Put it on a shortcut you can find without searching the inventory mid-attack.
- Reload and recover during a reset. Use cover and a clear gap; avoid committing to menus while the boss is winding up.
- Spend ammunition on openings. If you are mostly firing at the torso while retreating, shorten the burst and wait for the lamps to lower.
If a close-range counter is not reliable yet, spend an attempt learning the swing and the route to the pillar. Preserve enough health to see the next pattern rather than trying to trade hits for a full magazine.
Watch the movements
These examples use public demo footage, rather than a claim of an in-house playtest. Later difficulty and control updates can change tuning; the guide avoids fixed damage, timing and ammunition totals.